Corsets. A good corset can really make an outfit or costume. A bad one… Well a bad one just looks shit doesn’t it?!
I am not a corsetier. Never have been, and never will be. What I AM, is incredibly poor. I can’t afford to buy all those lovely steel boned waspies, halterneck underbusts and overbust Steampunk delights. So, as I had some fabric that I wasn’t using for anything else, I figured I would attempt to make a simple corset, just to see if, in a pinch, I COULD.
Please excuse the bedclothes as a backdrop, I am writing this post and taking it’s photos while in bed sick with a cold! Also, turns out I CAN make a corset in a pinch…
Now, first off, the pattern I used (Simplicity 2172) called it a “bustier”, which it’s not technically, however, it isn’t a true corset either. The pattern calls for a zip closure instead of the lacing of a corset or the hook-and-eye closure of a bustier, and does not feature the busk closure at the front. It is also ends slightly above the hips in length (higher than most traditional corsets, but lower than typical bustiers), and calls for the more flexible plastic boning, rather than the rigid boning. It also does not feature the boob support a bustier normally would and has more shape than typical bustier. This seemed to me to be a good hybrid-style to try, as I wasn’t convinced I could pull off the rigidity of the traditional corset, but I was looking for something with more shape than a bustier. And once I got the pattern out, it seemed simple enough – the instructions were reasonably clear with some awkward moments (mainly due to my inexperience) but overall, I felt confident I could pull it off.
Choosing fabric was next. I’ll be honest, I have a LOT of random scrap fabric lying around, so I figured I’d use some of the bigger smaller pieces I had. Honestly, the fabric I chose (a light blue satin-type material) I had been hoping to get more of to use for LeFay to make bloomers and a blouse, but I just couldn’t match the colour. I had just under a metre of it in length and it was around 50cm wide at its widest point- enough to trim things, but not to make anything large with, which was a shame, as it’s gorgeous! In the end, I decided to stick with making something for LeFay and used what I had to make the corset, as it seemed like a reasonable alternative and I could wrap the piece around me just fine. I also found a dark blue poly-cotton lining, which was handy, and bought a metre-or-so of medium-weight interfacing. BUT…
I didn’t have enough!
After cutting out all the paper pattern pieces, and laying them out on the material, there simply wasn’t enough material for all the panels. At the time, I hadn’t accounted for seam allowances and shaping, which had made my initial measurements for the fabric off by about 20cm or so. Bummer!
Stumped for what to do, I returned to my fabric box to seek inspiration. Sadly, the only thing available that would work was a plain white cotton, which didn’t sit quite right with me. It was too plain. Then I spotted a ruffled front on one of my Iron Fist dresses, which gave me the idea to create a ruffled panel in the same coloured organza as the LeFay bustle, thus cementing the LeFay outfit link. To do this, I cut the two front panels out of the white fabric and added the interfacing as per the instructions. At that point in time, I hadn’t cut out the other panels yet, as I wasn’t sure if my plan would work, so I concentrated on those panels only. I stitched them together along the centre seam, and then laid the organza over the top, ruffling the top, stretching out the bottom, and basting the whole thing in place. Once basted, I trimmed the edges to match the seams. My experiment seemed to have worked, so I went ahead and cut out the rest of the panels and interfacing.
In the end, I finished the ruffled organza with this pretty cameo and some Swarovski elements – pearls and crystals
It was then that I hit snag number 2.
Yeah, rookie mistake. I didn’t label the panels and interfacing. This wasn’t actually a big deal, as I was using stitch-on interfacing, not iron-on, so when I got a couple upside down, or on the wrong pieces, I just unpicked them and started again. This actually became a REAL issue when I cut out the lining pieces. And the worst part is, I hadn’t even learnt my lesson the first time when I cut the lining pieces out!
So that I could get the pattern I had made safely put away somewhere, I cut out all the pieces at the same time. Not a big deal. But, as mentioned above, I didn’t label them properly. In fact, I didn’t label the lining pieces AT ALL. I just laid them out one on top of the other in order and left them in that neat little pile.
Now, I managed to get away with it on the outer pieces and interfacing because I managed to get most of the initial cutting, basting and sewing of the outer done in a single day – nothing got moved or put away and thus mismanaged. Despite a couple of hiccups, the corset went together surprisingly easily and quickly. Then it came time to call it a day, and as I had already piled all the lining pieces neatly to one side, I didn’t bother thinking about labelling them. When it came to getting the project out again, I got distracted and wound up dropping the pieces on the floor, messing up the order. I tried to work it out, but in the end, I had to unpick and restitch the lining panels four times before I got it right!
Then I noticed something even worse when I tried to lining against the outer fabric.
They didn’t fit.
The lining was too small. Or… was the outer too big? I honestly couldn’t tell at the time, and I was mortified by the idea of having to unpick the whole thing. As it turned out, I had stitched the seams of the outer too small, 1cm instead of 1″ – as a Brit, you would think that I would be used to measuring in Imperial Units, however, for some reason, my mind completely fogged over and I just did it wrong. Going away and then coming back, I had obviously re-read the instructions and sewn the lining correctly, but it did mean that I had to restitch the outer. Instead of taking it apart and then putting it back together, I sewed the seams in the correct place, then unpicked the wrong ones afterwards. It only put me a few hours behind, so I wasn’t hugely bothered.
Despite my initial reservations about constructing the boning channels, I managed to complete them with no real issues, other than the boning getting caught on a loose thread once or twice. I used sewable boning, just in case I miscalculated later when sewing the lining in place, but a part of me wishes I can used pre-channelled boning instead, which comes in its own casing and would have saved me an hour of measuring, trimming and cutting my own channels. I suppose I could have just stitched the boning to the corset (it was the stitchable stuff, after all) but I figured that it would be more difficult to fix if I got it wrong. Once the bones were in place, the lining went on at the top and bottom, leaving the ends open for finishing and adding a zip.
Not, easy.
Nothing can prepare you for how awkward putting a zipper in can be. I had never worked with a zip before, and trying to follow the instructions I got completely mixed up and lost. The damn thing wouldn’t stay in place inside the seam I was meant to create, the zip itself kept getting in the way of the needle and in the end, I had enough. I stitched up the seam and then added the zip underneath. I really didn’t care, as it was never going to be seen.
So I tried it on, relieved that it was finally over! The main construction was done!
Nope.
It didn’t fit. Despite multiple fittings, checks and tests throughout the whole process, it STILL didn’t fit! Where had I gone wrong?! What did I do? There may also have been a few swear words.
At that point, I simply tossed the damn thing to one side and didn’t touch it again for months. 7 months, to be precise. I had had enough of the finikyness and measuring and unpicking. I worked on that thing for five months and I had reached my limit of crap – admittedly, it was mostly crap of my own making, but in this case, I was incensed.
I was willing to admit that my previous mistakes were all my own green silliness, but it not fitting? That made no sense to me, especially as I had checked it against me, zip and all pinned in place and done up, not one hour before.
So I left it alone. Then, about a week ago, I noticed it sitting in my box of unfinished projects. I hadn’t had any intention of going back to that particular piece, but for some reason, I HAD to finish it.
Maybe it was just the fact that it was the damn zip that had foiled me. Maybe it was the slight catch in the lining that was annoying me. Or maybe I just wanted something well and truly “finished”. Whatever the reason, I unpicked the zip, then inspected and unpicked the seam. I don’t really remember what I did to fix it, I think I was on auto-pilot, but something inside me just clicked, and before I knew it, I was sewing the corset zip into the seams nicely and tidily! I tried it on. And you know what?
It bloody fit!
I still have no idea what I did wrong the first time I put the zip in, nor how I fixed it when I refitted it, but it’s done!
As much as I would have likely to have celebrated with a little dance or something, the corset still wasn’t finished. I wasn’t happy with some of the edges as they looked a little untidy, so I pulled some lace scraps from my box and used it to edge the corset. I added a cameo, some Swarovski pearls and crystals to the organza section as seen in the second picture. And then, I stopped. Anything more, and it would be overwhelming.
I had finally done it. I had finished the bloody thing!
Shiny shiny! The lace was from an “offcut” box in the local haberdashery. There was actually quite a lot there, around 2m of the stuff, and it was only 40p! This stuff if normally 95p a metre!
In a way, I guess what I learned from this project is that sometimes, you really need a break from something in order to get it to truly work. Ok, so, 7 months isn’t always a good idea, as Cons tend to have time restraints and all that, but in this case, stepping back did me some good. I think that perhaps I got too focussed on it, so desperate to prove that I COULD do it, that I forgot the reason WHY I was doing it. Which was only to SEE if I could – to experiment and discover my boundaries. I went in with little expectation of myself, and somehow, I became my own worst enemy, intent on proving a point that actually didn’t exist or need proving. Nobody was questioning my abilities or skills – no-one except myself! I needed the harsh reality check of it not fitting (for whatever reason, as I still haven’t figured out what I did wrong or what I did to correct it!) so that I could go away and remind myself that I wasn’t a corsetier, I was just someone playing around to experiment and maybe save some money!
Would I do it again? In a heartbeat. Would I change anything? Oh yeah. I’d certainly take more time. Five months sounds like ages to work on something but, bearing in mind I work too, it wasn’t that much time at all, and I really shouldn’t have tried to force it all to happen so quickly. I got overwhelmed by work and making all at once. So taking my time, I will definitely do in future. I would also use an invisible zip – they’re more expensive, but aesthetically, it might look better. I’m also going to invest in a zipper foot for my sewing machine, as I am pretty sure that it will make sewing zips a whole lot easier!
While practicing my wirework techniques, I somehow wound up crafting a tree out of reclaimed copper wire. I ended up with four trees in various sizes. One I kept to give to the “Shades” project as an organic method of demonstrating progress (which you will probably read about over on the Shades website sometime soon), one I gave to my mother as a gift, and the other two I decided to hang on to and see if I could “finish” them in some way, as they didn’t feel complete.
I decided to focus working on the gnarly stumpy tree I had crafted, simply because I love gnarly old trees in real life! And so, if you can excuse my creased backdrop, this is how stumpy tree has ended up!
Stumpy tree now has some pretty blue “foliage”! I also found that piece of slate and it stood so perfectly on it, I just had to take the photo with the tree on, even though it isn’t glued down or anything.
The copper wire was reclaimed from some discarded metering cable that an electrician friend of mine had – as it was only going to be sent off for recycling anyway, some was spared for me! I also used copper coloured headpins and some blue seed beads to create the fine foliage twists and spirals.
This took about three days to complete in total, mainly due to how fiddly and small the headpins were, and I broke so many seed beads I lost count in the end!
Materials List:
Copper Wire (reclaimed metering cable, 25mm and 16mm)
Headpins (copper coloured)
Seed beads (pale blue)
Tool List:
Cable Crops
Needle nosed pliers
Flat nosed pliers
Round nosed pliers
Angled pliers
Wire cutters
Folding knife (to remove the outer sheath of the cable)
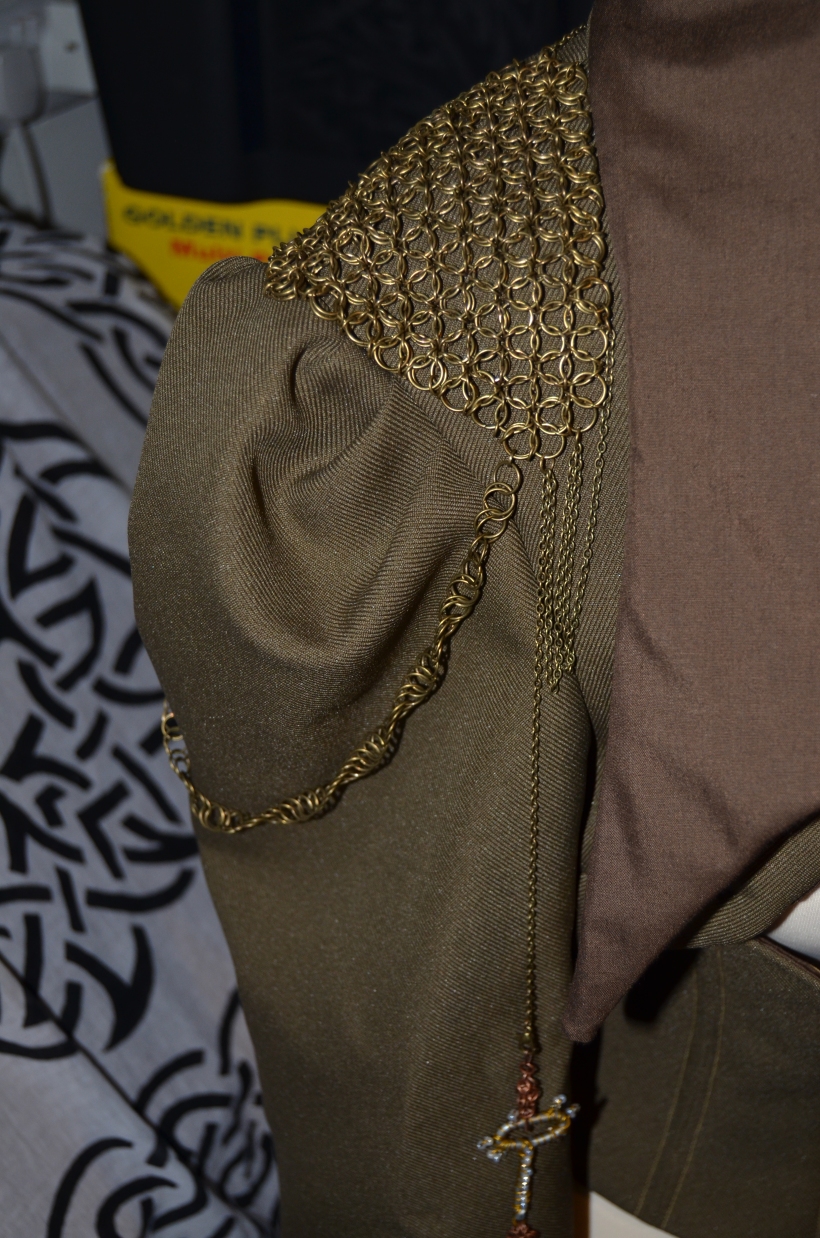
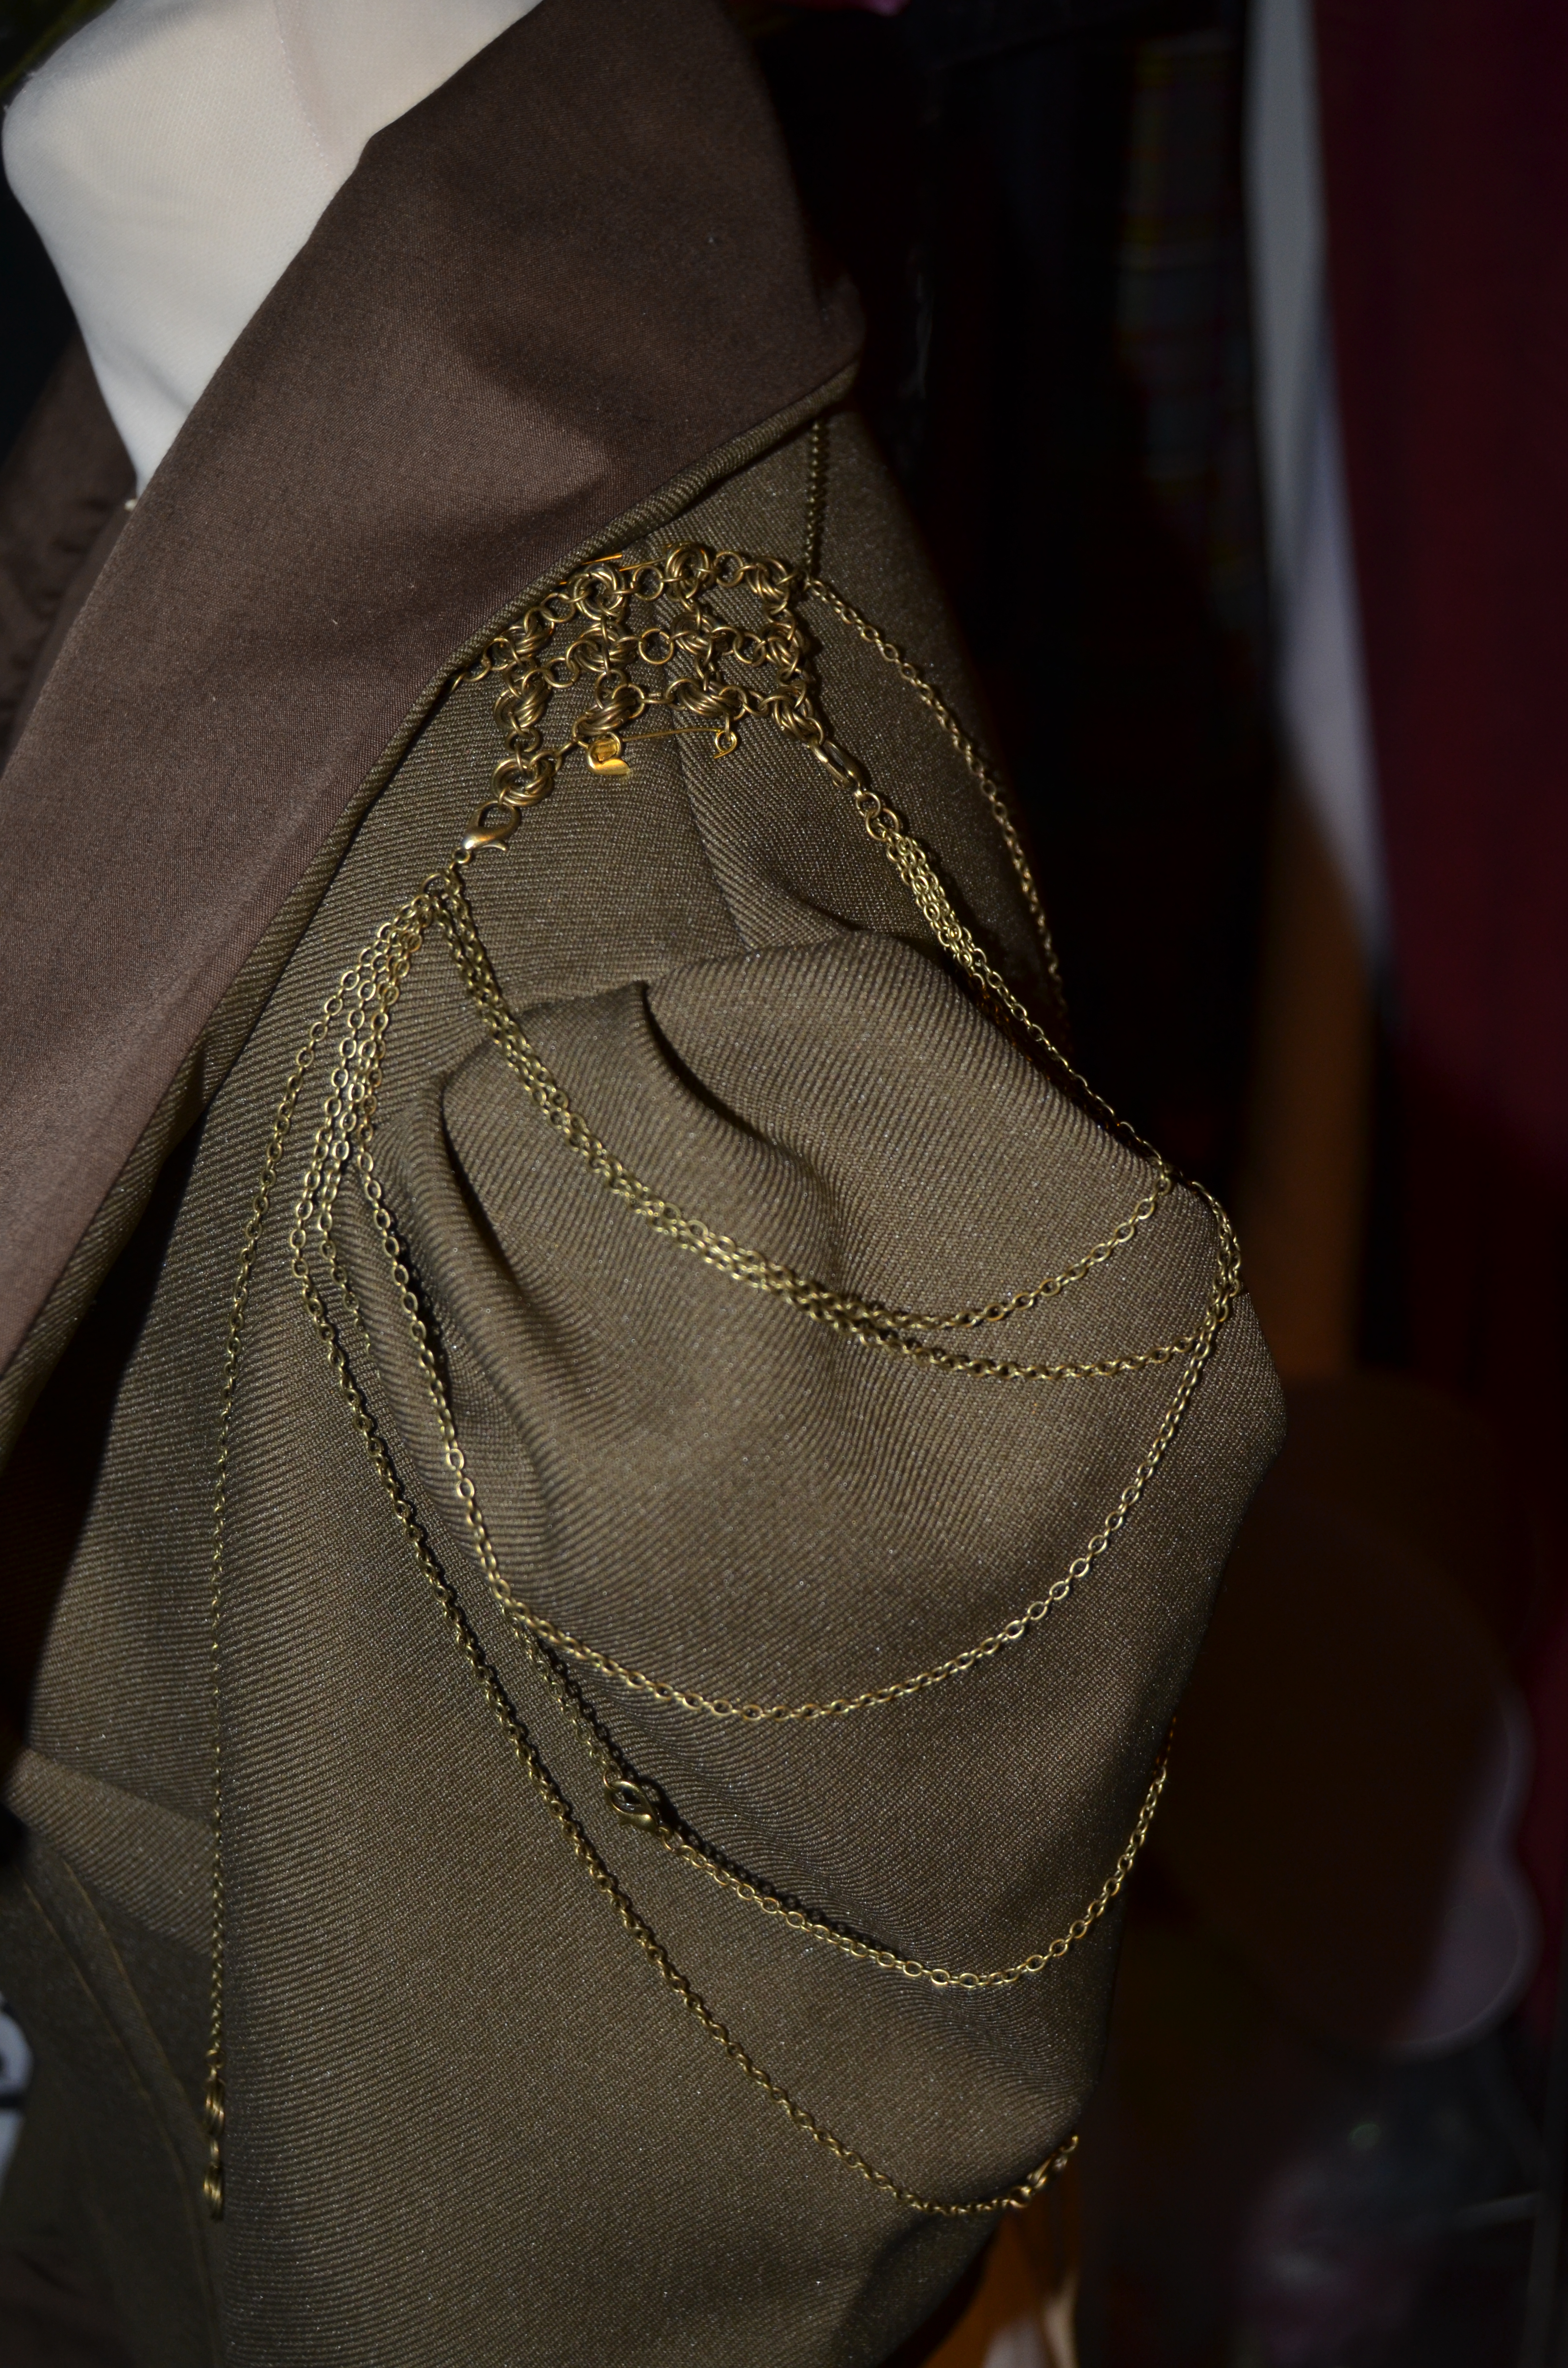
It’s been a while since I posted anything about my original character, Valkyria, but I have finally taken her outfit out of storage and started to look at finishing it as I may need it for a photoshoot next week. For the most part, it’s complete, but the corset isn’t going to be finished on time. This isn’t going to cause too much of an issue, because I have a leatherette corset I can wear instead. However, I really wanted to get the shoulder maille finished – the Valkyria piece utilises three different mailling techniques and I am really quite proud of the fact that I have learnt how to do them by myself, so I wanted to show it off!
Since the last time I showed the piece, there have been a few more “trophy” additions, including a wooden button, clock/watch parts, and come traditional gears with attached charms. The whole idea of the shoulder piece is that it displays small items that mean something significant to Valkyria – it is a mish-mash of rubbish and collected pieces that, on their own, are completely worthless, but in the grand scheme of Valkyria’s story, they hold sentimental value.
My favourite new addition is actually the watch movement with dangling cogs. I love mechanical watch movements, and I am starting to build up a collection of pocket watches as a result. The intricacy of the watch has always fascinated me – all of the pieces have to mesh together perfectly, otherwise the watch simply doesn’t work. I love that idea, so I knew I had to incorporate some of that aesthetic into the piece. It’s a reminder to work as a cohesive whole – that we can not truly reach our full potential unless we are complete. This watch no longer works, but the individual pieces can still serve as a reminder that we are part of a bigger picture.
I’ve had a few ideas of some Cosplays that I would like to attempt, which is a bit new for me as I never know what I want to do under normal circumstances!
However, this is a difficult time for me, as I am looking at starting a new job in February. It will pay significantly less than I am earning now, which could make it difficult for me to work on my projects (living comes first!) but it would leave me with a little more time to work on stuff and I will be able to guarantee my working hours, instead of taking them as they come. so despite the troubles, I hope to at least try and make something.
I decided to put them into a list on here so that I can track my progress and keep everyone updated all at the same time! The list is likely going to get longer, and hopefully, I’ll get at least one cross off before the end of 2016!
The ones in bold are ones that I have already started working on.
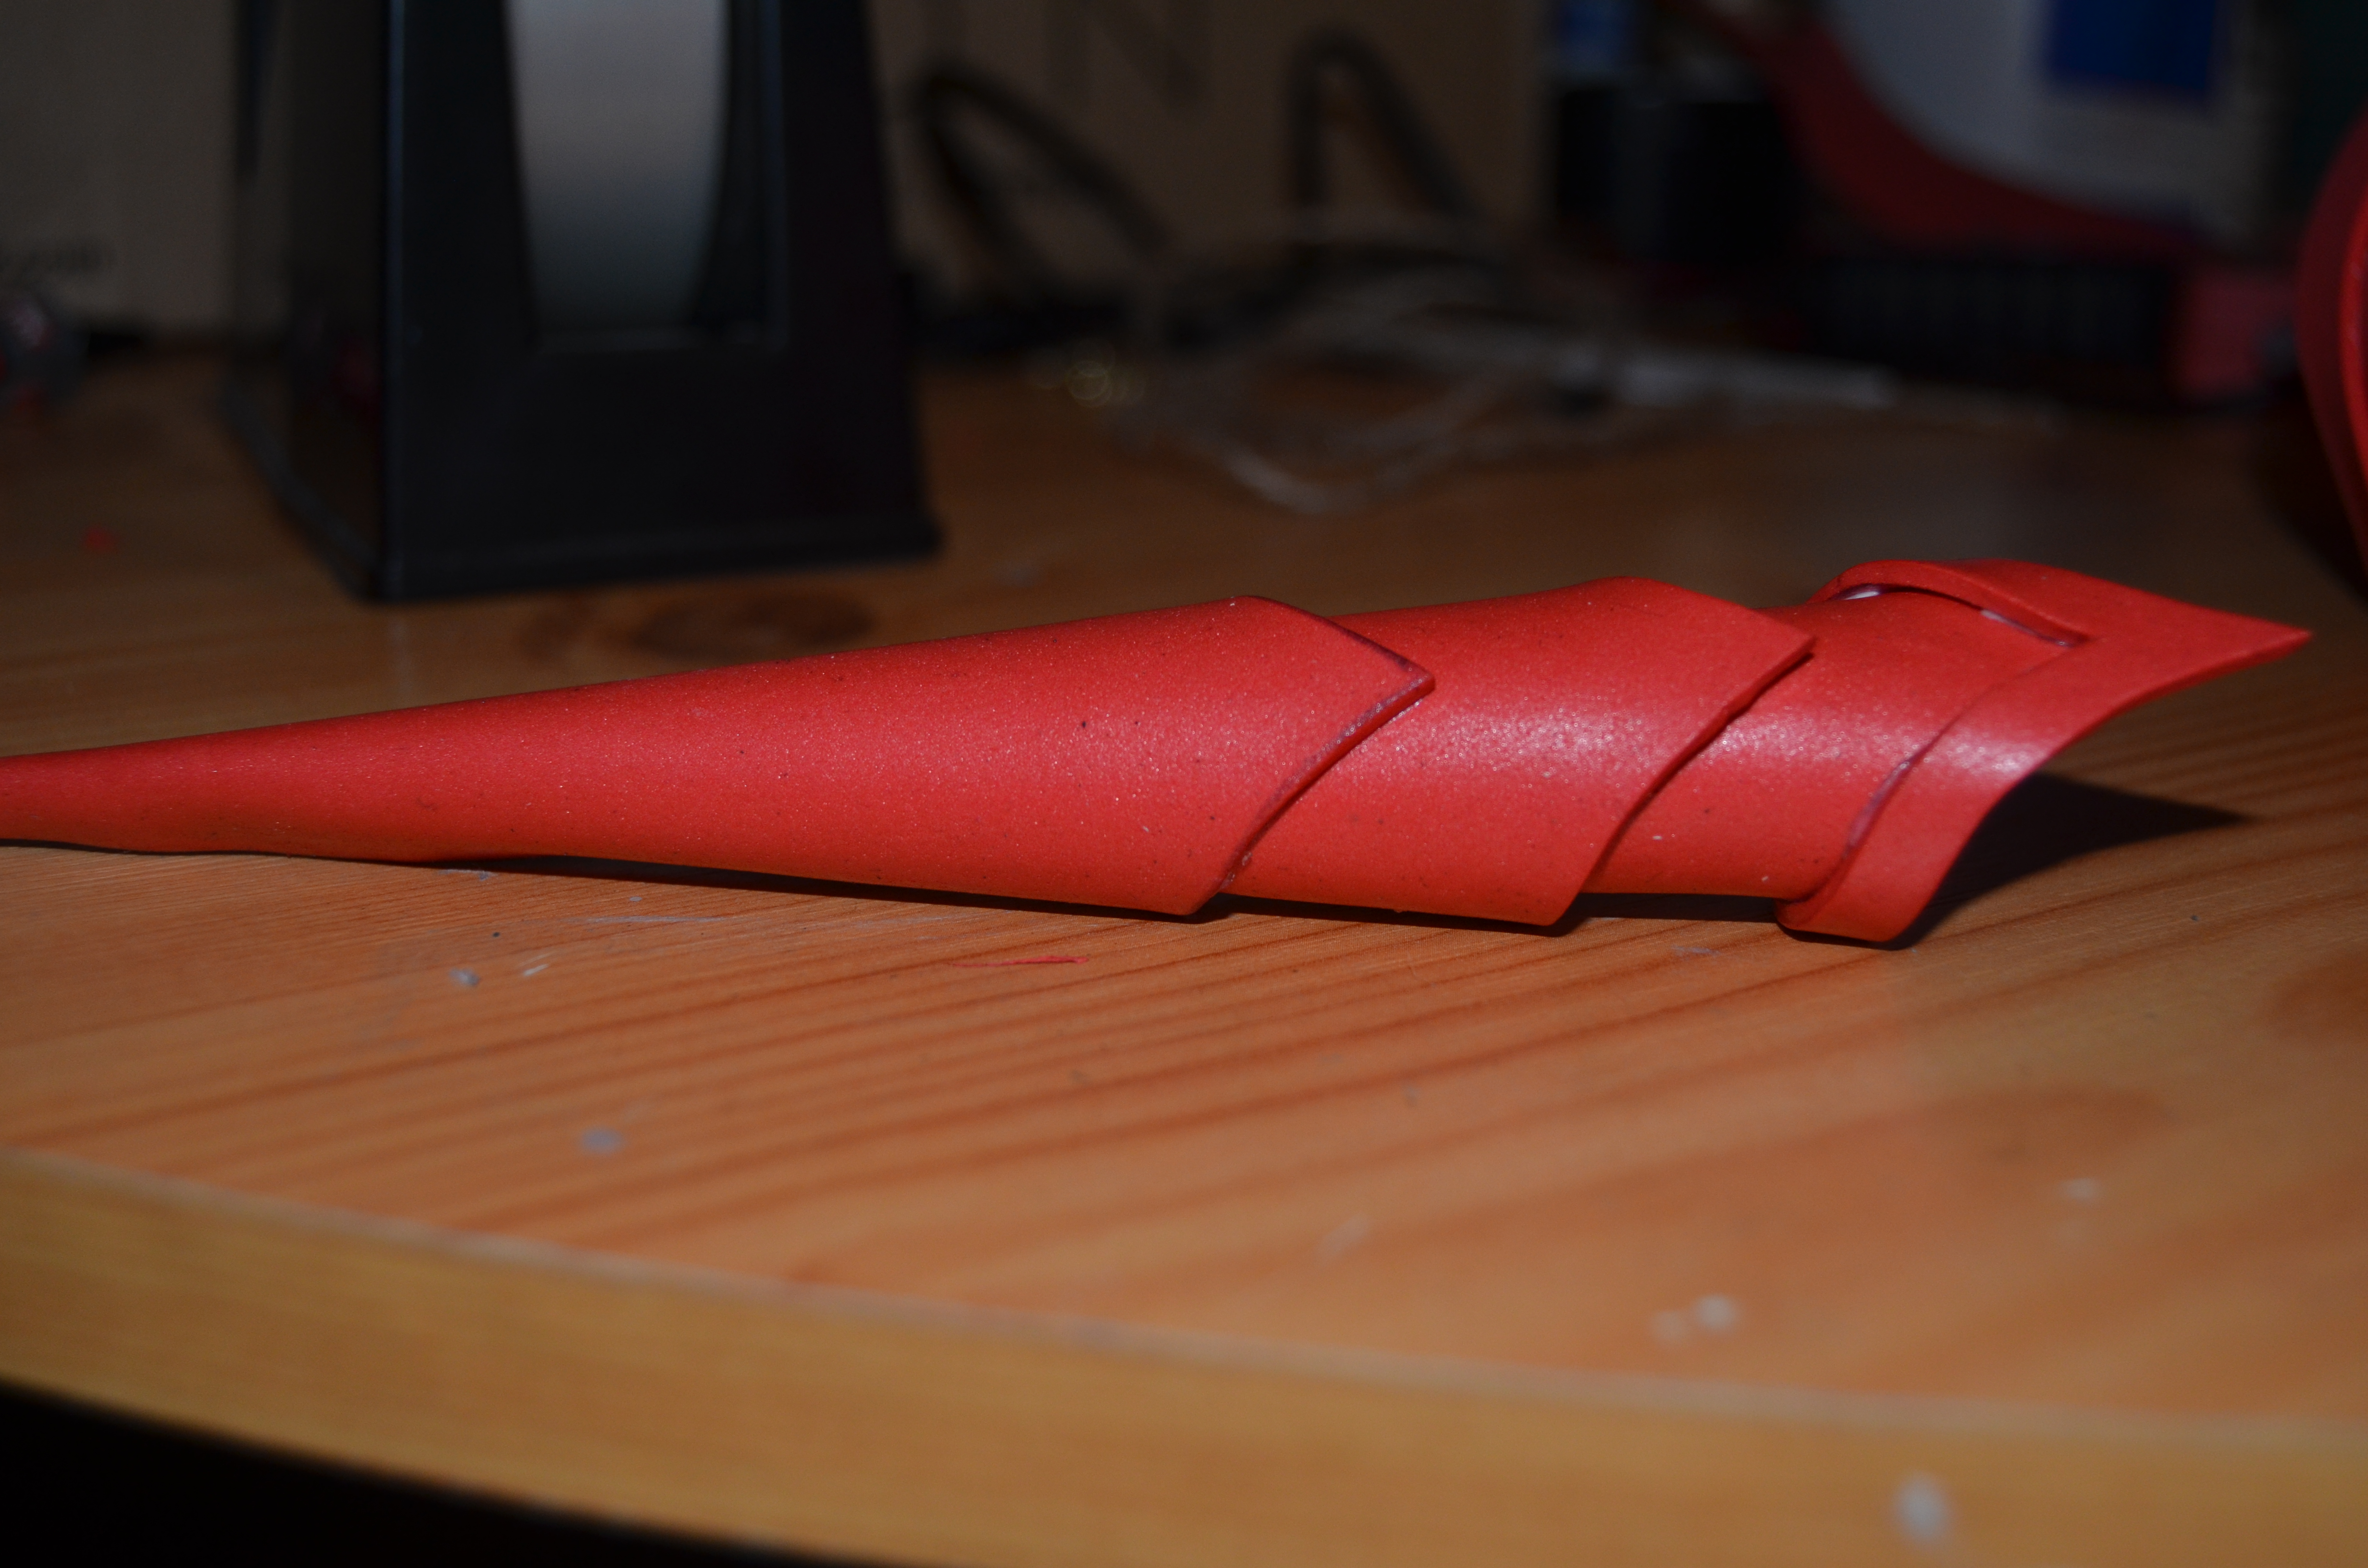
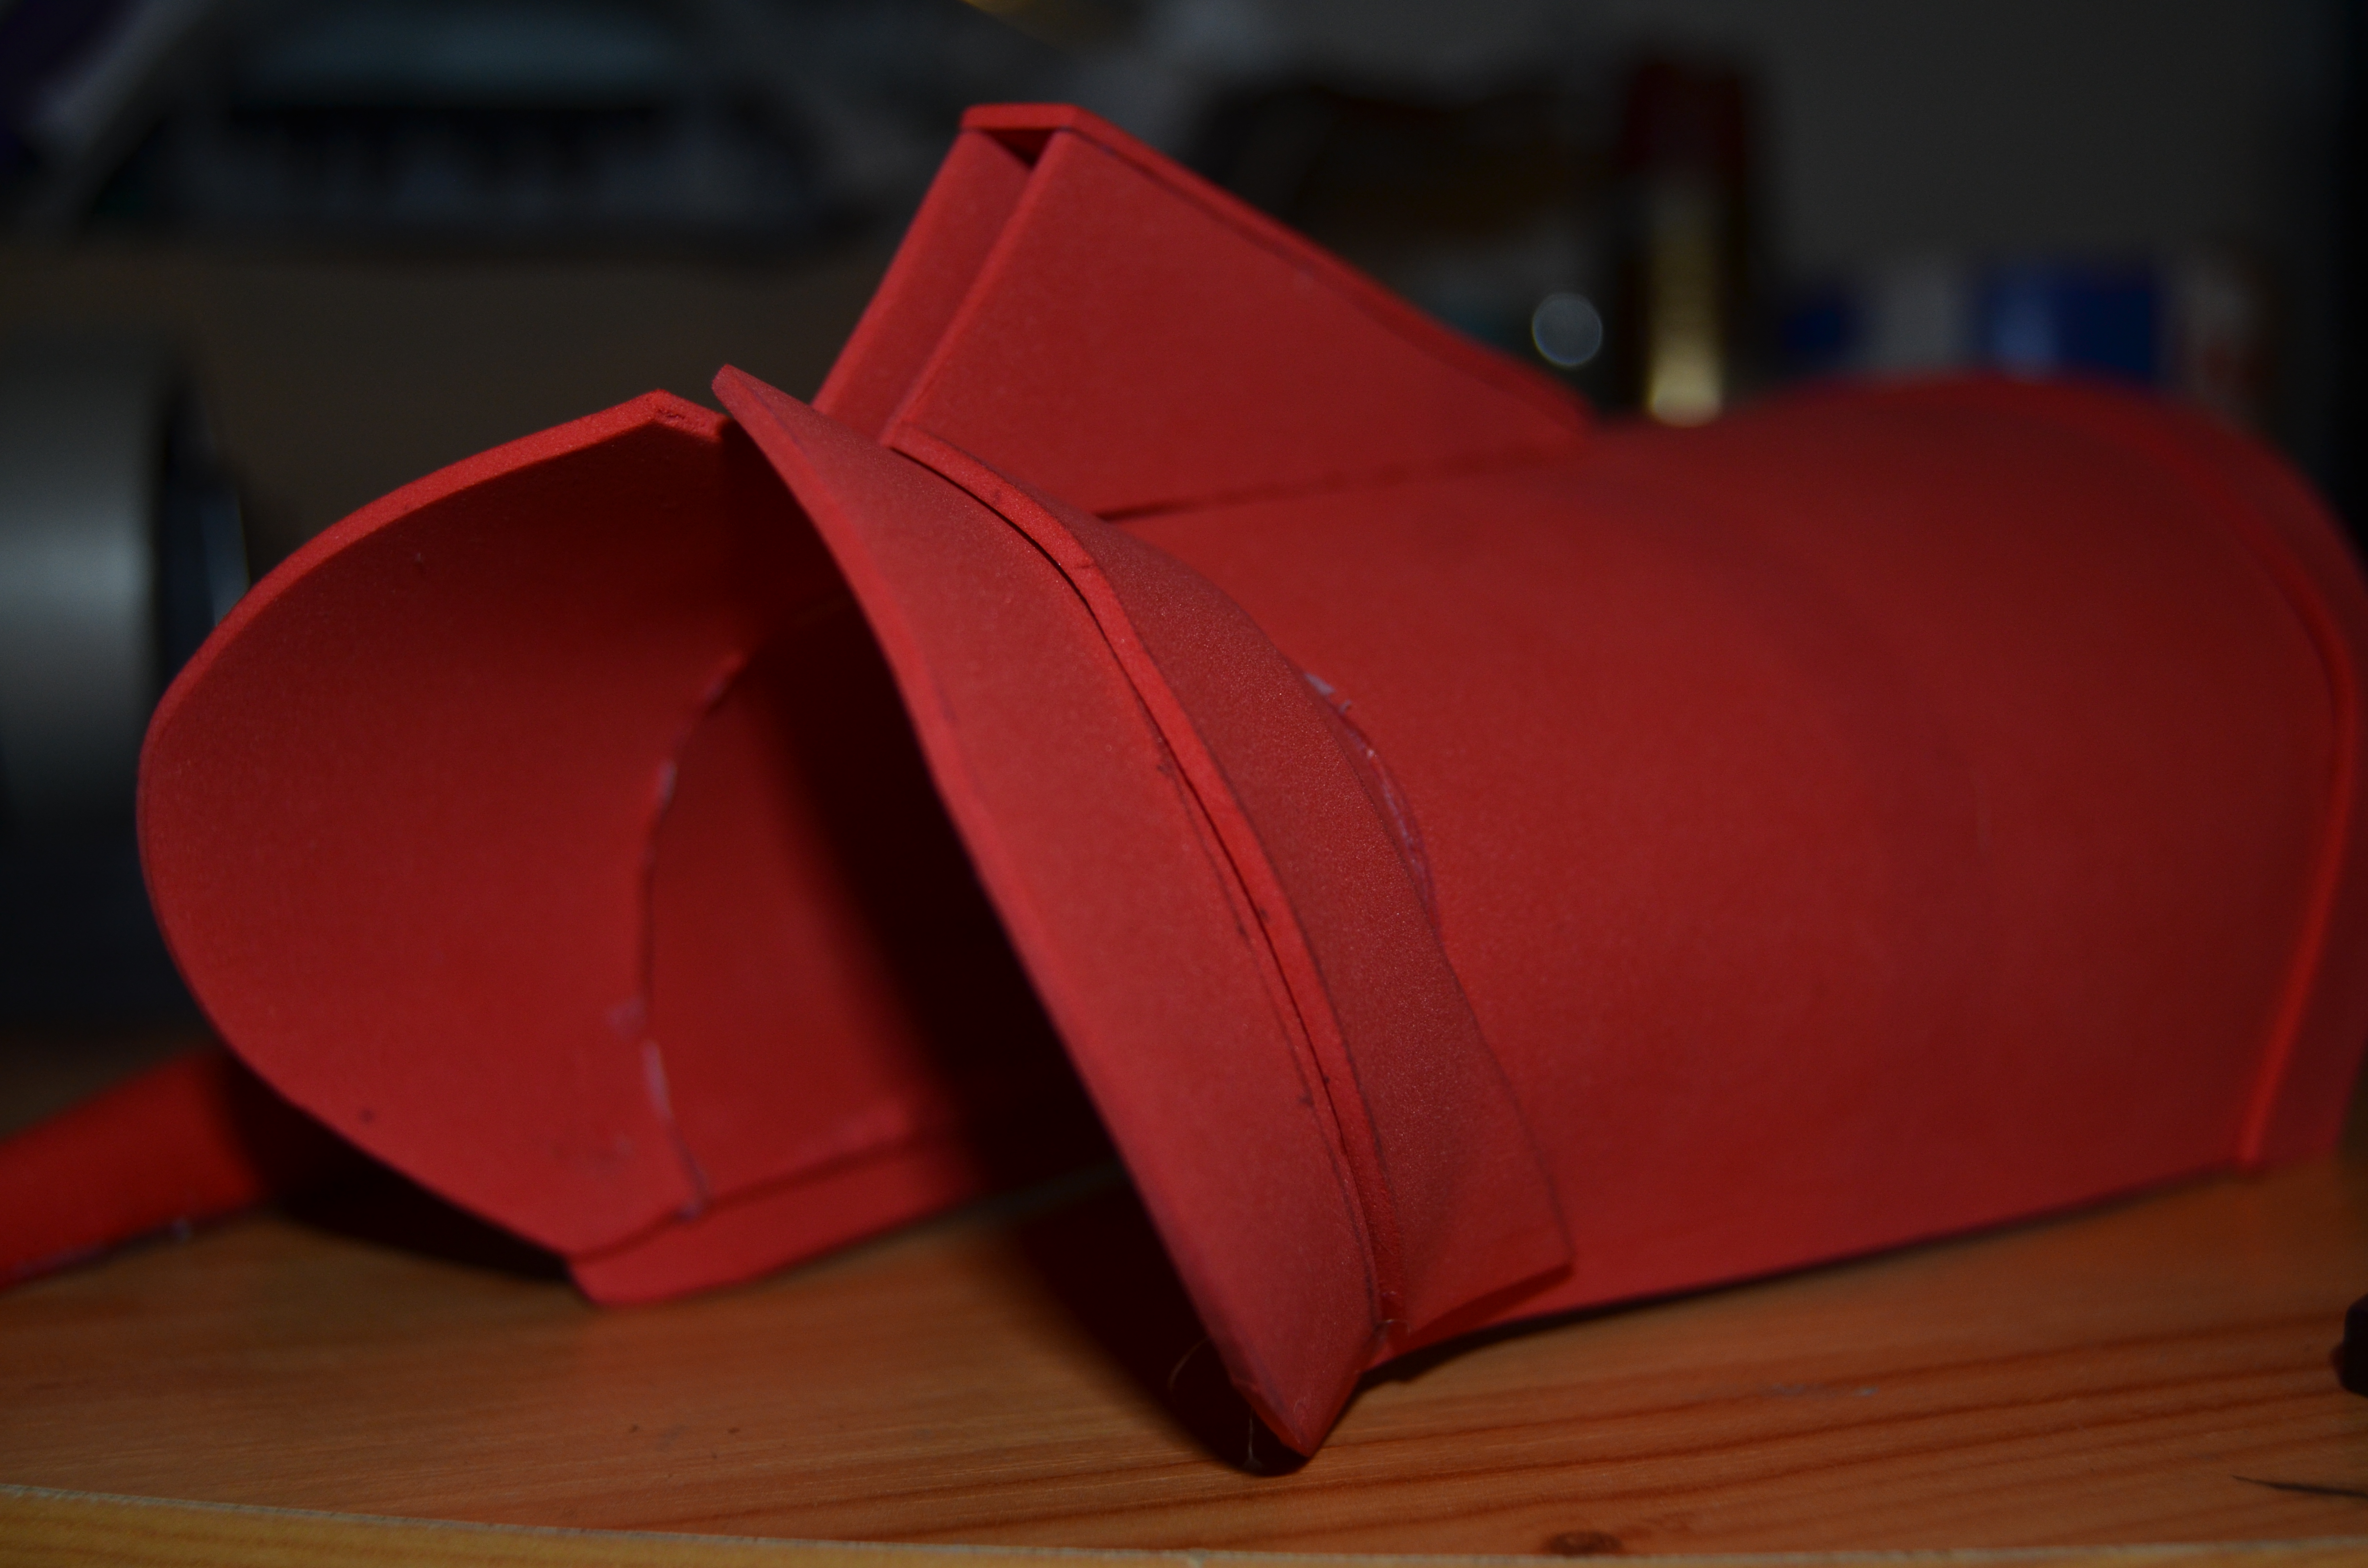
Recently, I decided I wanted to attempt a cosplay of a favourite anime character of mine. I wasn’t particularly worried about the costume aspect, as the outfit is quite simple. What was bothering me, was her equipment. She has a very specific item, unique to her, which I would LOVE to create, but, I have never made anything quite like it before. I’ve never made any sort of armour or weapon-based items, and I have certainly never worked with any sort of 3D modelling outside of putting together miniatures and models!
I therefore decided, after contemplating various thermoplastics such as Warbla, to work with craft foam. It’s cheap to buy, easy to cut, and I’ve been assured it’s perfect for beginners. On top of that, I know a great many people who work with it in various thicknesses, so I have plenty of help if I need it.
I was given some 2mm thick sheets of foam by Clckwrkwlf, and, armed with a series of pictures from my Pinterest, I spent the last day and a half bodging something together!
Here are the results so far (can you guess the cosplay yet?):
Accessories can make or break a Cosplay or outfit, and recently I have been working on some little additions for two outfits for “Shades”. One of them is for a character I myself am modelling, and the other is for a character that someone else is modelling, but I did the accessories because I already had the parts to do so!
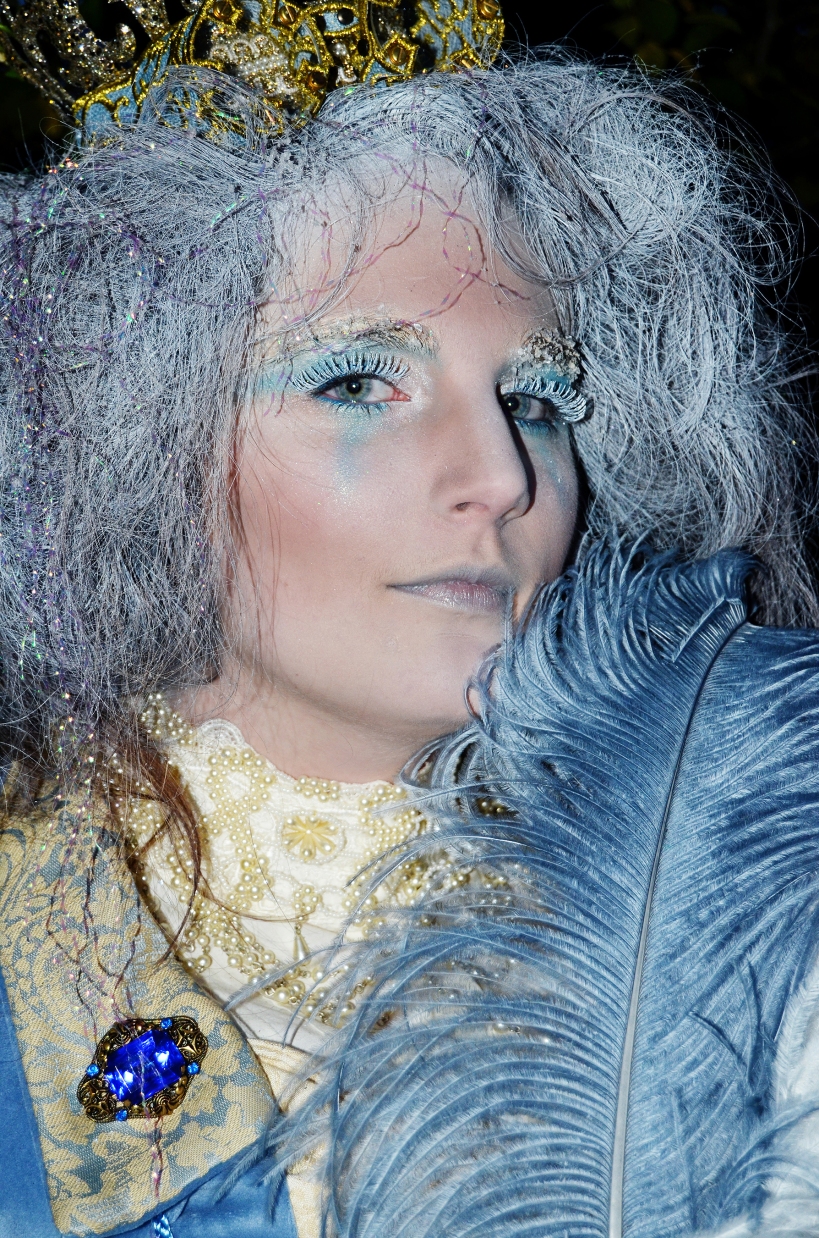
So, you all know LeFay, as she was my first attempt at making clothing and never quite made it to the convention. I have been working on her headpiece a bit more, trying to finish it off and create a hairstyle for her. Thus far, I have worked out a style, and am just waiting for some new headpins to finish off the front of the tiara. The hairstyle is simple and quick to reproduce, with no need for styling products or stitching, so I have no worries about using the wig elsewhere until LeFay is needed.
The second character is the Celtic Dryad, and for her, I have been crafting a headpiece, necklace and earrings.
For the headpiece, I wanted to keep it appearing as organic as possible, while still containing an element of regality and mysticism. I took a lot of inspiration from ivy, with its spirals, twists and weaving. The resulting headpiece is delicate and flexible, but I think captures a woodland beauty.
The necklace is incredibly simple, and is designed to that it can adapt to the neck of the wearer, as it does not actually clasp closed. It can be reshaped to fit, and that is what gives it that natural feel. Unfortunately I don’t have a full picture of it to show.
The earrings are again ridiculously simple, just two leaves on a latched fishhook ear wire. There is nothing fancy about them, and that’s why I like them. They are simple, and they do a job – nothing more. Simplicity sometimes is the best policy.
All of the Celtic Dryad items were made with gold wire/findings (that I already had) and metallic skeleton leaves that were bought from Skeleton Leaves for another project a while ago.
So, for this particular ODOP, I was again focussing on Valkyria’s upper. Primarily, I wanted to get the basework for the corset completed, so that I could see what it looked like under the jacket.
I opted for a single pattern this time, as I have never made a corset before and I wanted to follow the instructions through properly. Using the same drill and lining fabric as the jacket, I managed to complete the corset’s main structure. All that’s left now, is to get some buckles and finish off the tabs that go across the front of the corset. I am not 100% convinced that I have got the sizing right, but I hope to make do.
As you can see from the image above, I have also been looking into accessorising both the jacket, and Valkyria as a whole. The Anguistralobe pendant is a particular favourite of mine from Alchemy Gothic, a skull and crossbones medal hails from Curious Fashion, and the chainmaille shoulder pieces are made by myself, with oddbits added on for a more mish-mashed apocalyptic look.
Anyone who knows me will know that I have problems focussing on one thing at a time. I always have a hundred and one projects rolling through my head at any point, and it takes a lot for me to sit and focus on only one thing. The Steampunk Dredd coat and waistcoat I made, for example, are possibly one of the few times I really knuckled down and concentrated on a single idea. So, I have decided to do at least one One Day, One Project a month. The idea of ODOP is to force me into actually finishing something to a wearable point, a feat that is difficult for me as I always find myself becoming distracted by new ideas and thoughts that pop into my head.
The current ODOP theme is Valkyria, the Post-Apocalyptic Steampunk Sniper. She is a creation of my own, taking inspiration from Steampunk, Mad Max: Fury Road and Priest. Her outfit is based on the dusty browns and greens of a land torn between complete devastation and extreme beauty. The paradises scattered throughout the scarred and torn landscape are highly contested by those left behind after the apocalyptic disaster, and Valkyria’s skills with a long-range weapon are highly sought after. When not taking headshots, Valkyria uses her survival and weapons skills to seek out her own lost paradise, where her sister, Freya, waits for her.
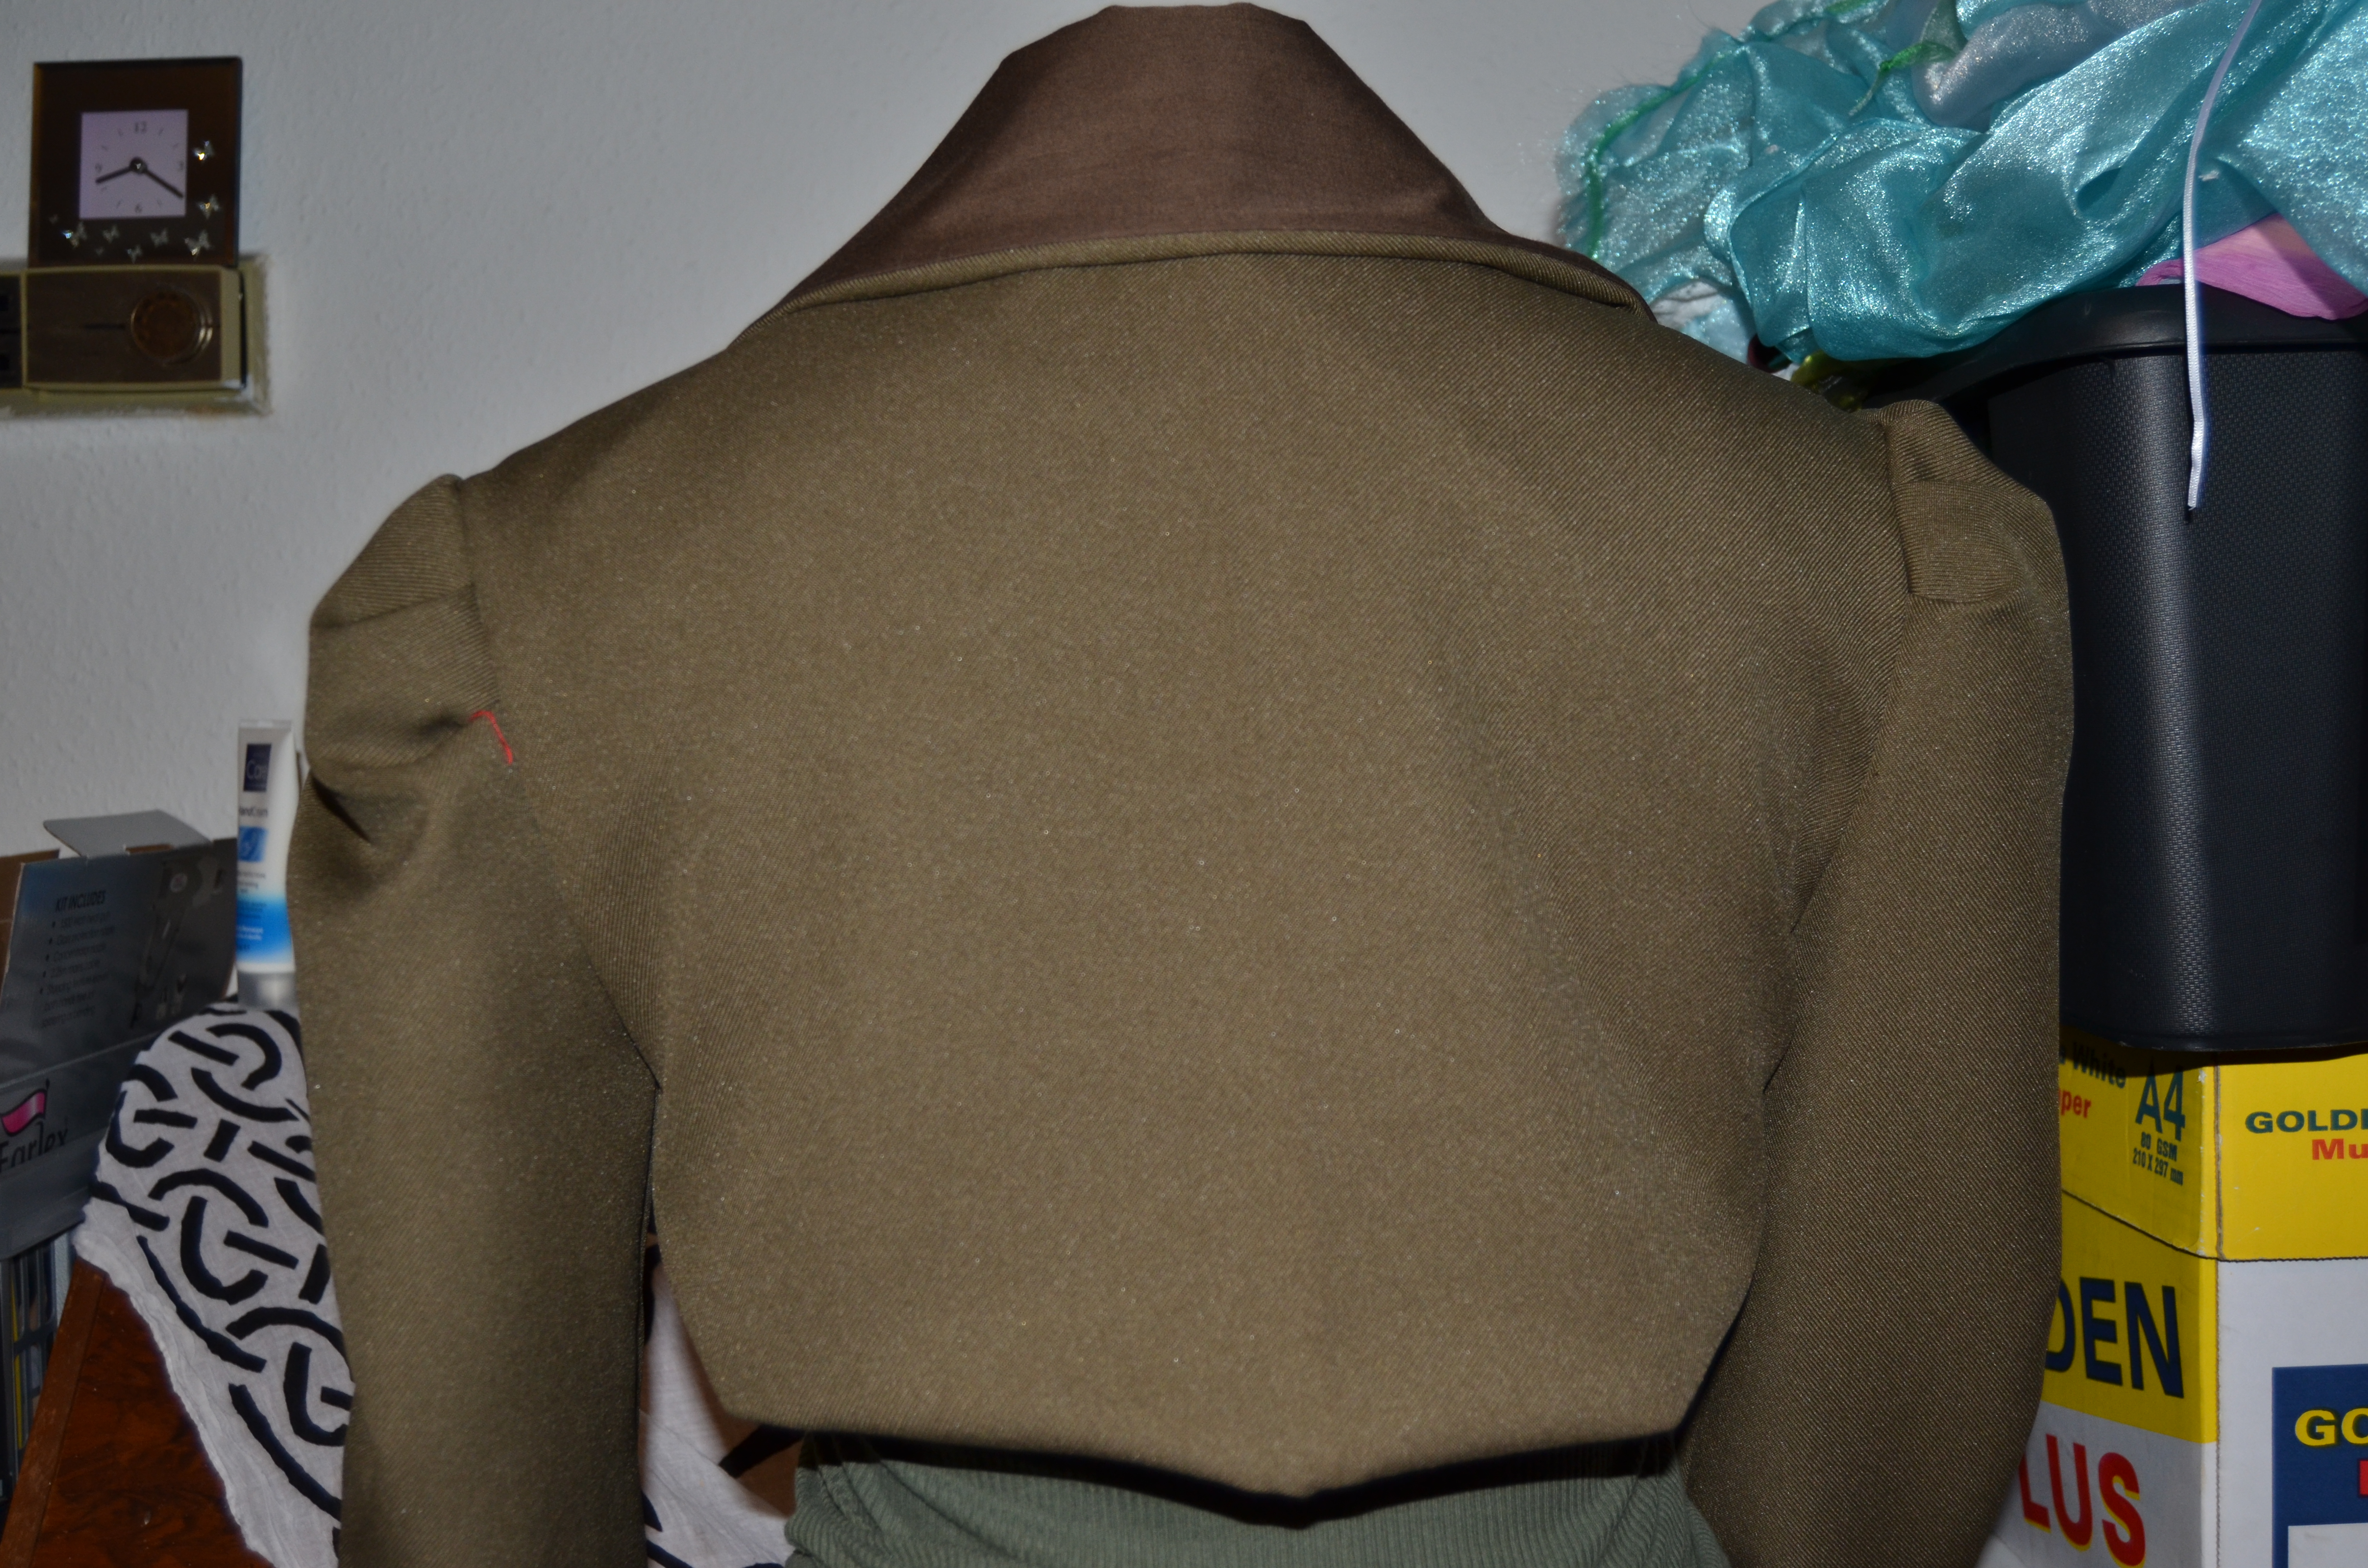
While I have most of Valkyria’s lower half already sorted, her top half is was still pretty bare. I decided to make my first ODOP Valkyria’s Jacket, which I designed to maintain a military theme, but bearing in mind that the Post-Apocalyptic world I am envisioning is both dusty and hot.
I took inspiration from two different pre-printed patterns for this, starting with a basic bolero body and incorporating a more military style puffed sleeve and pointed collar/cuffs.
I chose a cotton drill fabric, as it is both light and durable, and a polycotton lining, which also doubled as the contrast for the collar and cuffs. I tried to get the drill as close to the colour of a military hat I own as possible, as I intend to wear the hat as part of my outfit. It wasn’t possible to completely match the colour, as the hat is pretty old and faded, but it’s damn close! I used a brown polycotton that I found in my stash, partly to save money, and partly because I felt that the brown would make a nice contrast to the drill.
So, I spent the whole of Sunday working on this jacket. And tada! I actually went from drawing the pattern all the way to having a working jacket in just one day! Of course, it still needs pressing, and it could probably do with some embellishments, but I am pretty pleased with what I have done so far. Particularly because this is the first time I have mashed elements from multiple patterns together.
Valkyria is well on the way to completion, and with a holiday from work coming up, I may take an extra bit of time to finish it off!
In case some of you didn’t already know, I am currently involved in a photography project from Fair Visions Photography called “Shades”. At the moment, it is still in the development stage, but that has been shortened considerably as interest in the project has meant that it has to have at least some images by the end of August. Things are now accelerating and getting support for the project has become critical. So much so, that there is a Kickstarter currently being developed to help the project on its way. That’s not live yet, but if you keep an eye here, I will let you know when it does release.
The project can be seen online on Facebook, and on it’s website; the links are below. I hope you will join me in supporting this project, as it’s something a little bit different and I hope that it really takes off!